Developing Inside Docker Containers with VS Code Remote - Containers
Learn how VS Code Remote - Containers creates reproducible Docker‑based development environments, with a concrete Node.js example, setup steps, and practical trade‑offs.
16 Apr 2026, 12:51 UTC
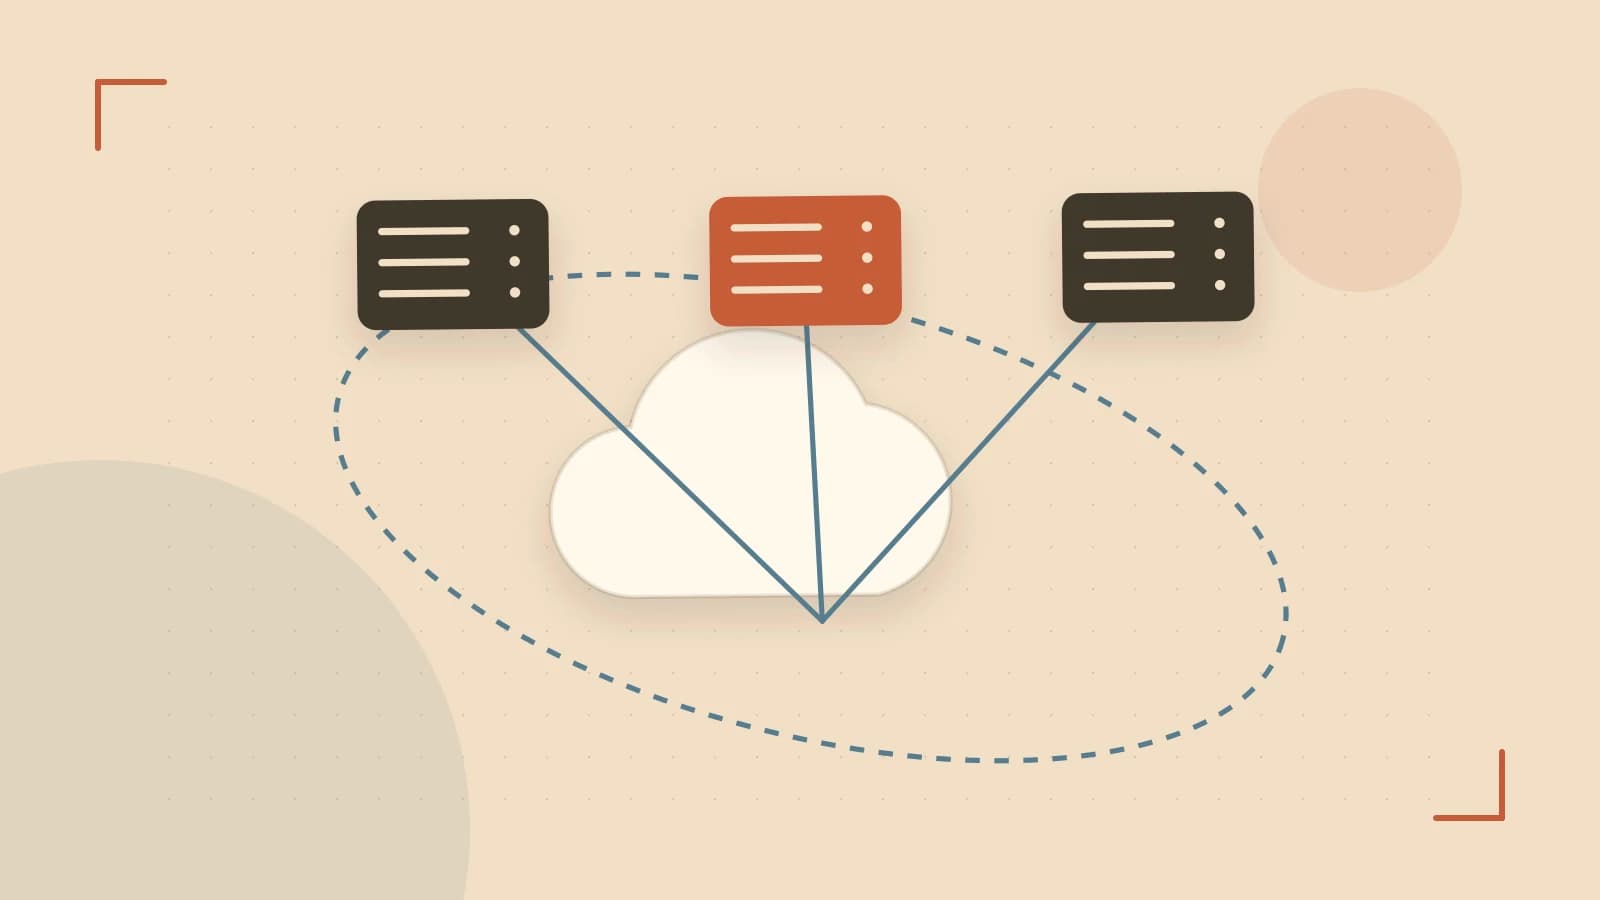
Problem: Inconsistent Development Environments
When a project works on one developer’s laptop but fails on another, the root cause is often differing tool versions, missing dependencies, or OS‑specific quirks. This “works on my machine” syndrome wastes time, slows onboarding, and makes debugging harder.
Thesis: Remote - Containers Gives You a Reproducible, Isolated Workspace
The VS Code Remote - Containers extension lets you open a folder inside a Docker container and use the full editor feature set—IntelliSense, debugging, Git—as if you were working locally. The container image is defined by a devcontainer.json (and optionally a Dockerfile), so every teammate gets the same runtime and tools.
Setting Up a Dev Container
- Install the extension – Open the Extensions view (Ctrl+Shift+X) and search for “Remote - Containers”. Install it; you’ll need to reload VS Code.
- Ensure Docker is running – The Docker daemon must be accessible. On Linux, your user should be in the
dockergroup or you can usesudo. On macOS/Windows, Docker Desktop provides the daemon. - Add configuration files – In the project root create a folder
.devcontainerand place at least adevcontainer.jsonfile. A minimal example for a Node.js project looks like this:
{
  "name": "Node.js Development",
  "dockerFile": "Dockerfile",
  "workspaceFolder": "/workspace",
  "extensions": ["dbaeumer.vscode-eslint"],
  "forwardPorts": [3000],
  "postCreateCommand": "npm install"
}
The referenced Dockerfile can be as simple as:
FROM node:20-slim
WORKSPACE /workspace
Place both files in .devcontainer. When you open the folder in VS Code, a notification appears: “Reopen in Container”. Clicking it builds the image (if needed) and starts a container with the workspace mounted at /workspace.
Worked Example: Verifying the Environment
After the container starts, open the integrated terminal (Ctrl+`) and run:
node -v
You should see the version from the container (e.g., v20.11.0), not the host’s Node installation. This confirms that the shell is inside the container.
To check that file edits are reflected instantly, edit src/index.js and save. In the container terminal run:
cat src/index.js
The updated content appears immediately because the workspace is bind‑mounted (default behavior).
Trade‑offs and Limitations
- Build time – The first launch may take several minutes as Docker layers are downloaded and built. Subsequent starts are faster only if the image layers are cached; changing the
Dockerfileinvalidates the cache. - Performance overhead – File‑system access can be slower than native, especially on macOS/Windows where the Docker VM adds latency. Using named volumes or enabling the
cachedmount option indevcontainer.jsoncan help. - Host‑specific tools – GUI applications that rely on X11 (Linux) or native Windows UI won’t work inside a Linux container without extra configuration (e.g., forwarding
DISPLAYor usingx11docker).
You can monitor the container’s resource usage via Docker Desktop’s dashboard or the docker stats command in a host terminal.
Actionable Closing
If your team struggles with environment drift, try adding a .devcontainer folder to a small pilot project. Follow the steps above, verify the toolchain with node -v, and measure the startup time. If the latency is acceptable, extend the setup to other repositories and share the devcontainer.json as part of your onboarding documentation.
 docker
 vscode
0 replies
A thoughtful contribution can make all the difference. Be the first to share one.