Taming Node-RED Flow Sprawl with Subflows: A Practical Guide
Large Node-RED flows become hard to read and maintain. Subflows offer a built-in way to encapsulate repeated logic, but they come with trade-offs around debugging and context isolation.
15 Sept 2025, 08:16 UTC
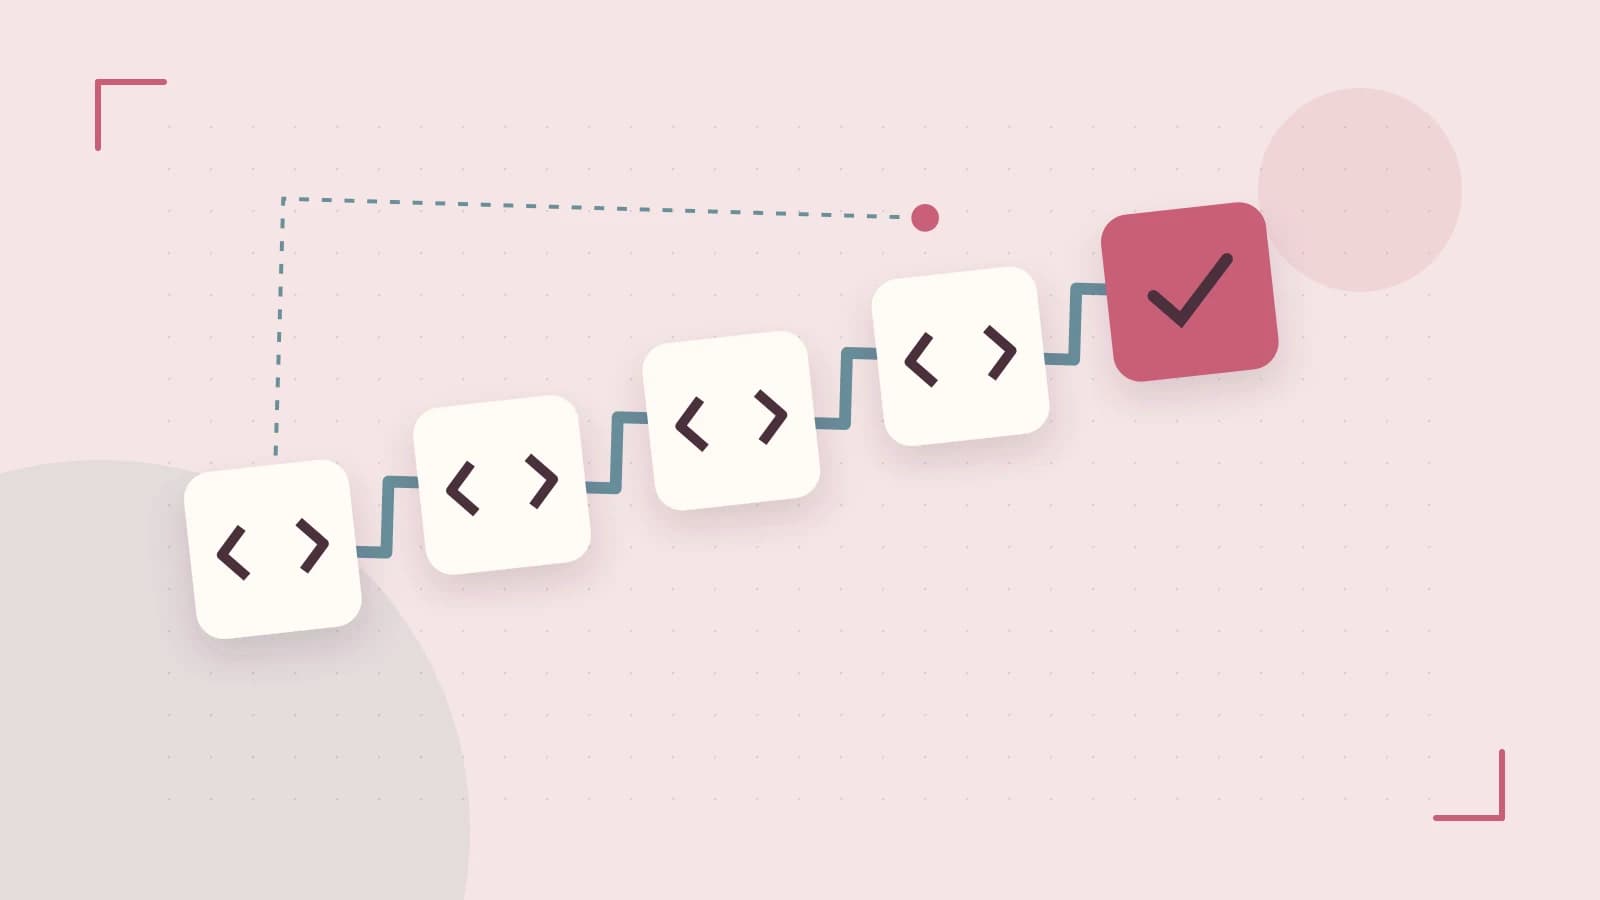
The copy-paste problem
Node-RED makes it easy to wire together IoT devices, APIs, and logic. But after a few weeks of "just one more node," the canvas turns into a hairball. The same three-node chain—an inject, a function that formats a timestamp, and a debug—appears five times. When the format changes, you edit five places. When a wire breaks, you hunt through spaghetti.
Subflows are Node-RED's built-in answer to this. They let you collapse a group of nodes into a single reusable box with a defined interface. The main flow stays readable, and you change logic in one place instead of many. This guide assumes a recent stable Node-RED release (v3.x or later); the subflow workflow has been consistent across recent versions.
What a subflow actually is
A subflow is a flow within a flow. You select a set of nodes, choose Create Subflow from the context menu, and Node-RED replaces them with a single node that has orange terminals. Inside that node lives the original logic. You can drop the subflow onto any flow tab, wire it like a normal node, and configure its behavior through environment variables or a settings panel.
The key idea is encapsulation. The subflow hides implementation details behind an interface: inputs on the left, outputs on the right, and optional configuration exposed on the node itself. This mirrors how a function works in traditional code, except the "body" is visual.
A concrete example: the timestamp tagger
Suppose you repeatedly need to take an incoming message, attach a timestamp, and tag it with a source label. On the canvas, you might start with an inject node, a function node that sets msg.timestamp = Date.now() and msg.source = "sensor-a", and a debug node.
To turn that into a subflow:
- Select the
functionanddebugnodes (skip the inject, since each instance will have its own trigger). - Right-click and choose
Create Subflow. Node-RED opens the subflow editor on a new tab. - On the subflow's interface panel, add one input and one output. The input terminal receives messages from the outside world; the output terminal sends them back.
- Wire the subflow's input to the
functionnode, and thefunctionnode to thedebugnode, then thedebugnode to the subflow's output. - Close the subflow tab. You now have a single
Subflownode on your main flow.
Deploy the flow, click the inject node's button, and check the debug sidebar. If the output matches what the original loose nodes produced, the encapsulation is correct.
To prove reusability, open the editor menu, choose Export, and select the subflow. The result is JSON—a plain-text description of the nodes and wires inside. You can paste that JSON into a different Node-RED instance, import it, and drop the subflow onto a fresh flow without rebuilding anything.
The trade-offs nobody mentions
Subflows are not free. The biggest cost is visibility. When a message stalls inside a subflow, you cannot see the internal nodes from the main flow. You must double-click the subflow node to open its tab and inspect the debug output there. In a large project, that context switch slows down troubleshooting.
Second, a subflow is a single definition with many instances. If you change the internal logic, every instance on every flow tab changes immediately after deploy. That is usually the point, but it means you cannot tweak one copy without affecting the others. If you need variation, expose a configuration property—such as a source label—through the subflow's environment variables rather than editing the internal nodes.
Third, context is isolated by default. A function node inside a subflow has its own node-level context. It cannot see the node context of nodes outside the subflow. If you need to share state, you must deliberately use flow-level or global-level context. This catches people who assume a variable set inside the subflow is visible to the rest of the flow.
Fourth, interface mismatches are silent killers. If you wire an external node to the subflow's output terminal but the internal logic never sends a message there, nothing happens. No error appears in the main flow. The debug sidebar stays empty. Always verify that the number of external wires matches the number of internal connections to the interface terminals.
Keeping the hierarchy shallow
It is tempting to nest subflows—a subflow that contains another subflow. Resist the urge beyond one or two levels. Deep nesting hides the overall logic and makes visual tracing nearly impossible. If a subflow grows beyond roughly a dozen nodes, ask whether it is really two components wearing a trench coat.
A practical check: after building a subflow, export it to JSON and read the nodes array. If you cannot explain what each node does in one sentence, the abstraction is probably too coarse.
When to reach for a subflow
Use a subflow when you have copied the same node pattern more than twice, or when you want to hand a colleague a black box with a clear contract. Skip it for one-off logic that appears once; the extra indirection is not worth it.
Before deploying a subflow-based flow, run a quick sanity check: trigger each input path and confirm the expected output appears in the debug sidebar. If nothing shows up, open the subflow tab and check whether the internal nodes received the message at all. That single habit catches most wiring mistakes before they reach production.
 nodered
0 replies
A thoughtful contribution can make all the difference. Be the first to share one.