Running Containers Without a Daemon: Practical Rootless Podman Setup for Multi‑User Servers
Learn how to set up and use Podman’s rootless mode for secure, daemon‑free containers in multi‑user Linux environments, with a concrete example and clear limitations.
08 Nov 2025, 05:41 UTC
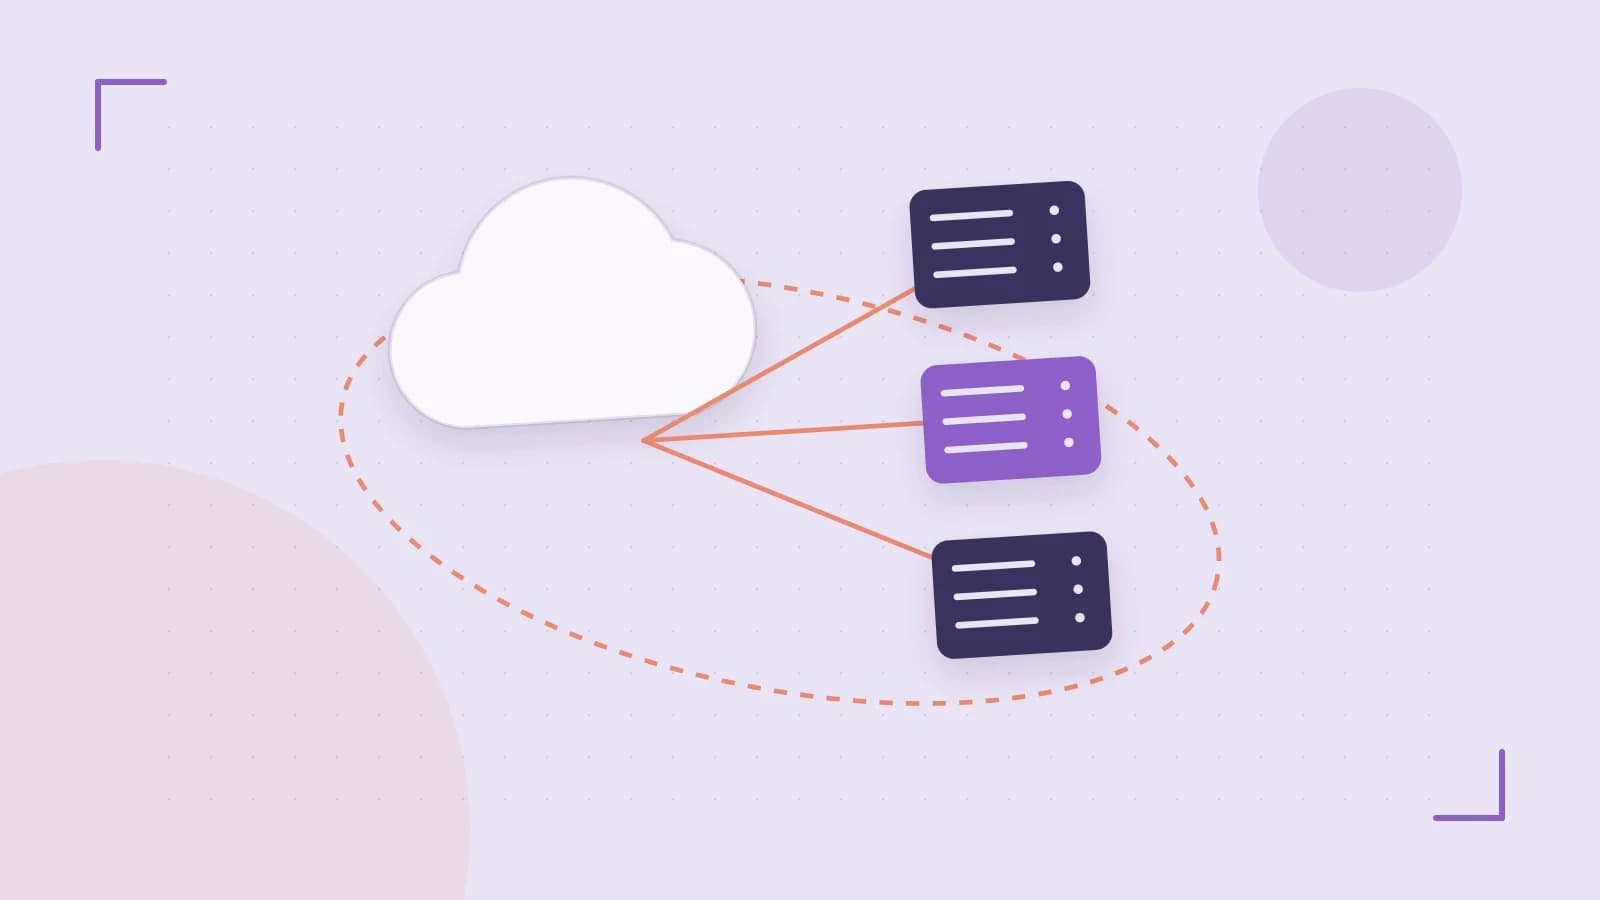
Problem: Containers Need a Daemon‑Free, Multi‑User Friendly Way
In shared Linux environments each user often wants to run containers without relying on a system‑wide daemon or obtaining root privileges. A traditional Docker engine requires a privileged daemon socket, which complicates access control and introduces a single point of failure. Podman’s rootless mode addresses this by letting each user execute containers under their own UID, using unprivileged user namespaces and communicating directly with the kernel via runc or crun.
How Rootless Podman Works
When you invoke podman as a regular user, the CLI creates a user namespace that maps the invoking user’s UID/GID to a range inside the namespace. All processes inside the container inherit this mapping, so they appear as the invoking user on the host. Image layers, metadata, and volumes are stored under $HOME/.local/share/containers, keeping each user’s data isolated. Because there is no daemon, the CLI talks directly to the kernel for each operation, eliminating the need for a privileged socket.
Setup Steps for a Typical User
- Verify that the kernel supports user namespaces:
grep -i user_namespace /boot/config-$(uname -r)should showCONFIG_USER_NS=y. - Ensure the
subuidandsubgid files contain a range for your user (usually added automatically byloginctl enable-lingeror the system’saccounts-daemon). Example entry:youruser:100000:65536. - Test that no daemon socket is present:
podman info --format '{{.Host.RemoteSocket.Exists}}'should outputfalse. - Optionally enable lingering so user‑level systemd units survive logout:
sudo loginctl enable-linger $USER(requires sudo).
Worked Example: Running a Web Container on an Unprivileged Port
This example shows how to start an NGINX container listening on port 8080, which is allowed for rootless users by default.
# Pull the image (stored in the user’s local storage)
podman pull docker.io/library/nginx:latest

# Run the container, publishing port 8080 on the host to 80 in the container
podman run -d --name nginx-demo -p 8080:80 docker.io/library/nginx:latest

# Verify the container is running
podman ps --filter name=nginx-demo

# Test the service from the host
curl -I http://localhost:8080
If you attempt to bind to a privileged port (80) without extra configuration, the command will fail with a permission denied error, demonstrating the default restriction.
Trade‑offs and Limitations
- Ports below 1024 are blocked by default. To use them you must adjust the kernel sysctl
net.ipv4.ip_unprivileged_port_start(requires root or sudo) or employ port forwarding via tools likesocatoriptablesREDIRECT rules. - Certain capabilities such as
CAP_SYS_ADMINare not available inside rootless containers unless the administrator explicitly allocates the needed UID/GID maps or grants additional privileges, limiting access to some devices or filesystem operations that require those capabilities. - Older kernels (< 3.8) or systems with user namespaces disabled will refuse to start containers; you can check with
sysctl kernel.unprivileged_userns_clone(should be 1).
Actionable Closing
Rootless Podman gives each user a secure, daemon‑free way to run containers while keeping the host’s attack surface small. Start by verifying your kernel and subuid/subgid ranges, then run containers as you would with any OCI‑compatible tool. When you need privileged ports or specific capabilities, adjust the sysctl or work with your system administrator to allocate the necessary uid/gid maps. Periodically re‑run the verification commands (podman info --format '{{.Host.RemoteSocket.Exists}}' and UID mapping checks) to ensure the rootless environment remains healthy after system updates.
 podman
 linux
linux0 replies
A thoughtful contribution can make all the difference. Be the first to share one.