Live Migration in Harvester: Moving VMs Without Downtime
Need to patch a Harvester node without killing VMs? Live migration moves VM memory between nodes using KubeVirt and shared storage, but only with compatible CPUs and no device passthrough.
30 Sept 2026, 20:54 UTC
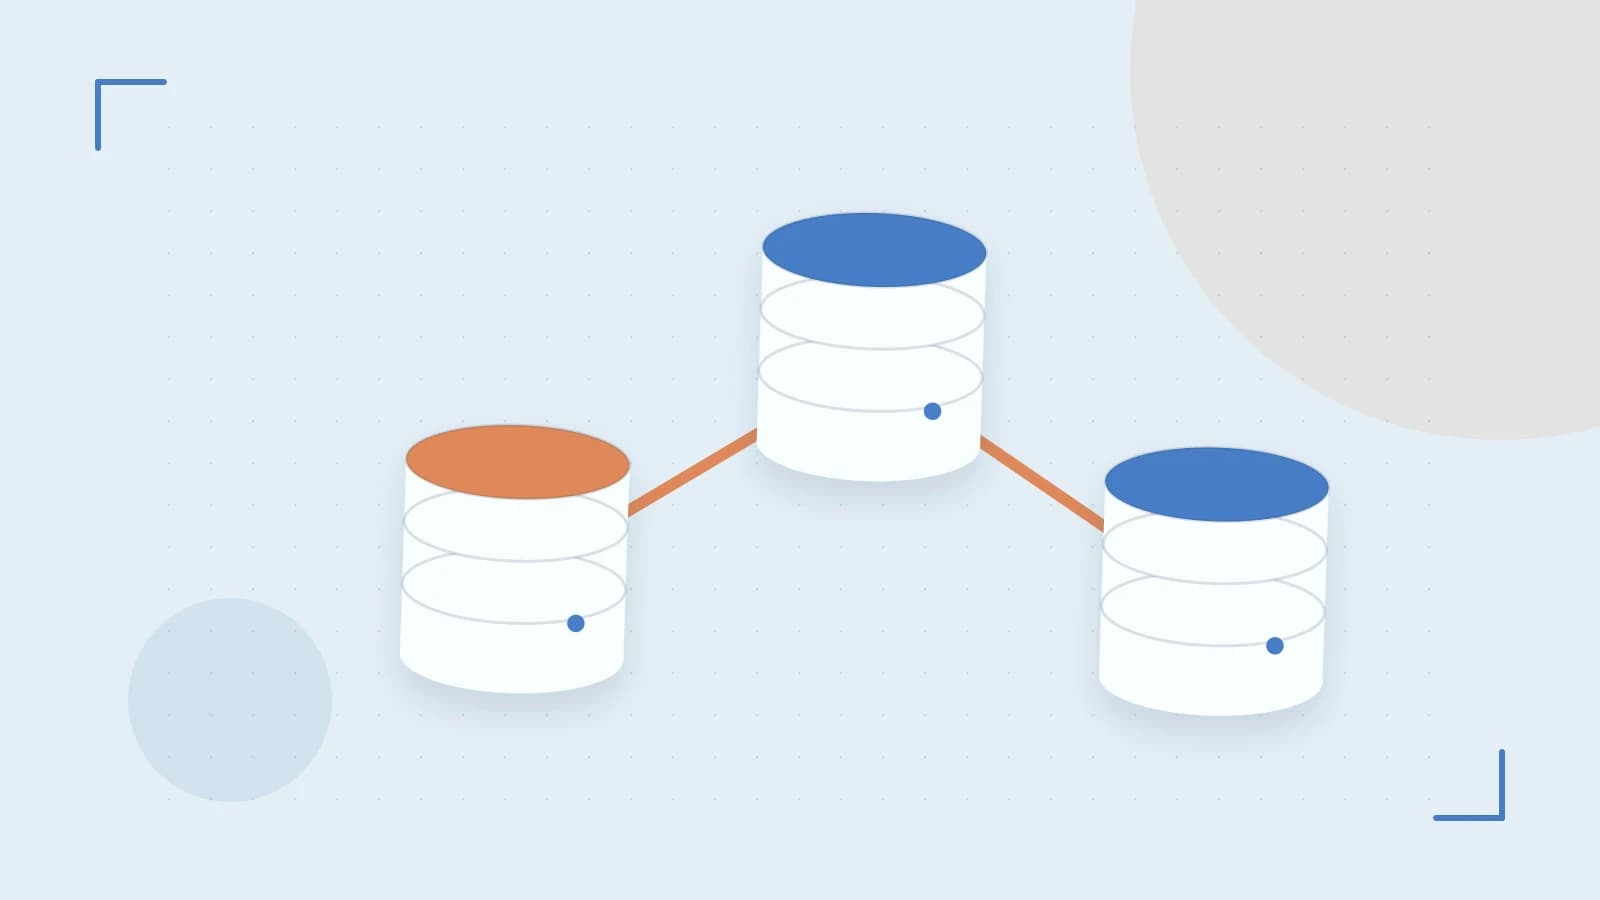
You need to patch a Harvester node for kernel updates, but the VMs on it can’t afford a hard stop. The useful takeaway is that Harvester can live migrate VMs between nodes with only a brief pause, but only when the cluster meets strict CPU, network and storage conditions, and only for VMs without direct hardware passthrough.
How live migration works in Harvester
Harvester runs VMs as KubeVirt VirtualMachineInstance objects. Live migration is implemented by KubeVirt on top of libvirt/QEMU. The VM’s memory and device state are copied iteratively to the destination node while the VM keeps running. Disk state is not copied because VMs use shared storage, typically Longhorn in Harvester, so both nodes see the same block device.
When the final memory delta is small enough, the source pauses the VM for the last sync, resumes it on the destination, and updates the network routing. The VM keeps its virtual IP and service connectivity. The UI and CLI expose a Migrate action, and migrations can also be triggered automatically by node drain or eviction policies.
Prerequisites that make or break a migration
Live migration is not magic. It requires:
- CPU compatibility. Source and destination must share the same CPU vendor and feature set. KubeVirt will refuse or fail a migration if the CPU models are not compatible.
- Low-latency, high-throughput network. The memory copy happens over the cluster network. 10 GbE or better is the practical baseline to keep migration time short and avoid timeouts.
- Shared storage accessible from both nodes. With Longhorn, the VM disks are replicated volumes. If storage latency spikes or disconnects during migration, the VM can stall or pause until storage recovers.
Check CPU flags from an admin workstation with access to the Harvester kubeconfig and cluster-admin permissions:
kubectl get nodes -o jsonpath='{.items[*].status.nodeInfo}'Compare cpuModel and cpuFlags across nodes. Mismatches are a hard blocker. You can also set a consistent CPU model in the VM spec to force compatibility.
A concrete verification workflow
Use this workflow to confirm migration behavior in a test environment before relying on it for maintenance.
- Deploy a two-node Harvester cluster with Longhorn enabled and a standard cloud image VM without passthrough devices.
- Confirm both nodes report compatible CPU information as above.
- From the Harvester UI, select the VM and choose Migrate, or trigger via kubectl. The migration is a cluster-level operation that changes VM placement.
- Monitor migration state:
kubectl get vms -wInspect status.migrationState. A successful migration transitions from Scheduled to Running on the destination node. The VM phase should not remain Paused for more than a few seconds.
To bound downtime, run a continuous latency probe inside the VM, for example ping to the loopback interface with a short interval, and log round-trip times around the migration window. The configured migration downtime threshold defaults to around 200 ms. A spike larger than that indicates network or CPU pressure.
Trade-offs and hard limits
Live migration is not supported for VMs using direct device passthrough such as GPU or SR-IOV NICs. The hardware state cannot be transferred between nodes, so those VMs must be stopped for maintenance.
Storage is another risk. High latency or temporary disconnection from the shared storage backend can cause migration to stall and leave the VM paused until storage recovers. This is why Longhorn replica health and network stability should be verified before node drains.
Migrations also consume network and CPU. Running many migrations concurrently can increase pause times for all VMs.
Actionable closing
Before a node maintenance window, verify CPU compatibility, check Longhorn volume health, and test a live migration on a non-critical VM. If the migration completes with a short pause and the VM remains reachable, you can safely drain the node using Harvester’s built-in maintenance workflow. If you see repeated pauses, incompatible CPUs, or passthrough devices, plan for a cold migration instead.
 harvester
0 replies
A thoughtful contribution can make all the difference. Be the first to share one.