Debugging Java Applications in Docker Containers from IntelliJ IDEA
Learn how to run, debug, and edit Java code inside Docker containers using IntelliJ IDEA’s built‑in Docker plugin, with a step‑by‑step example and notes on performance.
17 Jul 2026, 16:56 UTC
The problem: switching between local runs and containerized tests
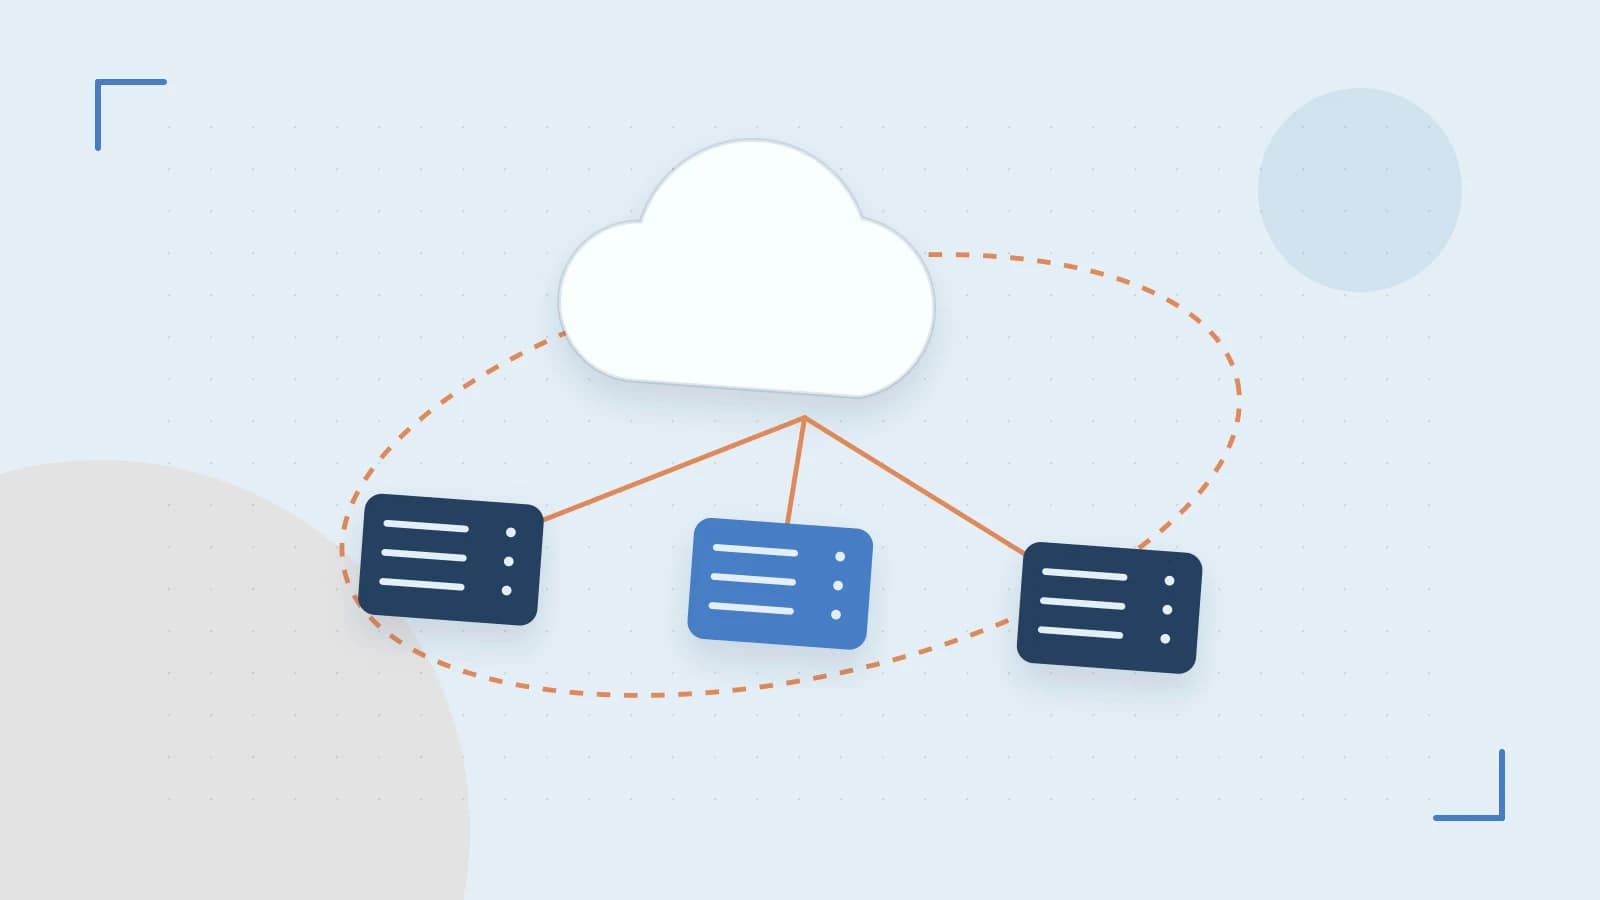
When you develop a Java service that will eventually run in Docker, you often face a workflow split: compile and test locally, then rebuild the image, restart the container, and re‑attach a debugger to verify changes. This context‑switching slows feedback loops and makes it easy to miss environment‑specific issues.
Setting up the Docker plugin
IntelliJ IDEA includes a Docker plugin that is enabled by default in most distributions. Verify it is active:
- Open
Settings → Plugins(orIntelliJ IDEA → Settings → Pluginson macOS). - Search for "Docker" and ensure the checkbox is ticked.
- Restart the IDE if you changed the setting.
After restarting, open the Docker tool window (usually on the bottom left). It should list the local Docker daemon, images, and any running containers. If the window is empty, confirm that Docker Engine is running and that your user can talk to the daemon:
- On Linux, you may need to add your user to the
dockergroup:sudo usermod -aG docker $USERand then log out/in. - On Windows/macOS, Docker Desktop provides the required permissions by default.
Worked example: a simple Java service
We’ll create a minimal Maven project, package it as a jar, and run it inside a container while attaching the IDE’s debugger.
1. Create the Java class
Add src/main/java/com/example/Main.java:
package com.example;

public class Main {
    public static void main(String[] args) {
        System.out.println("Hello from inside Docker!");
        while (true) {
            try { Thread.sleep(1000); }
            catch (InterruptedException e) { Thread.currentThread().interrupt(); }
        }
    }
}
2. Add a Maven pom.xml (optional but convenient)
<project>
  <modelVersion>4.0.0</modelVersion>
  <groupId>com.example</groupId>
  <artifactId>docker-demo</artifactId>
  <version>1.0-SNAPSHOT</version>
  <properties>
    <maven.compiler.source>17</maven.compiler.source>
    <maven.compiler.target>17</maven.compiler.target>
  </properties>
</project>
3. Package the application
Run the following in a terminal (no special permissions needed):
mvn clean packageThis produces
target/docker-demo-1.0-SNAPSHOT.jar.4. Write a Dockerfile
Place
Dockerfileat the project root:FROM eclipse-temurin:17-jdk WORKDIR /app COPY target/docker-demo-1.0-SNAPSHOT.jar /app/app.jar ENTRYPOINT ["java","-jar"," /app/app.jar"]5. Create a Docker run configuration
- Click
Run → Edit Configurations….- Press the
+button, chooseDocker.- Set:
Server:Docker (default).Image ID:docker-demo:latest(we’ll build it next).Container name:demo-container(optional).Command:leave empty to use the Dockerfile’s ENTRYPOINT.- Under
Build, tickBuild imageand point thePath to Dockerfileto your project’s Dockerfile.- In the
Bindingstab, add a bind mount for the target directory so code changes are reflected instantly:${project.dir}/target:/app(read‑write).- In the
Debugtab, ensureEnable debuggeris checked. The IDE will automatically add the appropriate JVM agent options (-agentlib:jdwp=transport=dt_socket,server=y,suspend=n,address=5005) to the container’s entrypoint.- Click
OKto save.6. Run and debug
Select the newly created configuration from the toolbar and click
Debug. IntelliJ will:
- Build the Docker image (you’ll see progress in the
Buildtool window).- Start a container from that image.
- Attach its debugger to the JVM process inside the container.
Set a breakpoint on the line
System.out.println("Hello from inside Docker!");. Each second the loop hits the breakpoint, the IDE pauses, letting you inspect variables, evaluate expressions, or step through code—all without leaving the IDE.Trade‑off and limitation
The biggest convenience comes from the bind mount that mirrors your local
targetdirectory into the container. However, on Windows and macOS the underlying file‑system translation layer (via a VM) can introduce latency, making hot‑swap of compiled classes noticeably slower than a pure Linux host. If you observe laggy debugging, consider:
- Using a Linux development machine or a Linux VM (e.g., WSL2 with Docker Engine).
- Increasing the Docker resource allocation (more CPU/memory) in Docker Desktop settings.
- Skipping the bind mount for pure image‑based runs when you only need to verify startup behavior.
Actionable closing
Try the steps above with your own project: enable the Docker plugin, add a Dockerfile, create a run configuration with a bind mount and debugger enabled, and set a breakpoint. Verify that the debugger stops as expected and that changes you make to the source are reflected after a quick recompile (or a hot‑swap if your build tool supports it). If you encounter issues, check the Docker tool window for container logs and ensure the user has permission to access the Docker daemon. This tightens the feedback loop between code, container, and debugger, letting you work inside the container as naturally as you would locally.
 docker
 jetbrains
0 replies
A thoughtful contribution can make all the difference. Be the first to share one.