Setting up WordPress on Azure in 4 Steps
The Microsoft Azure platform contains an untold combination of different products and services From virtual machines to AI, the Azure marketplace platform and its offerings grow every day. One of those services is the ability to host your own WordPress website.
In this post, I’ll take you through the process of setting up WordPress in four steps.
How to Install WordPress on Microsoft Azure
- If you don’t have one, create a Microsoft Azure Account
- Set up WordPress app service using the Azure setup wizard
- Configure your WordPress app service
- Configure WordPress using the install wizard
1. Create a (free) Microsoft Azure Account
Azure offers a free trial account that is good for 12 months that includes a range of free services and a $200 credit to spend in the first 30 days. Included in the offer are both Linux and Windows virtual machines. You will also receive 5GB of free blob and file storage, each, as well as 250GB of SQL databases and 15GB of bandwidth. A free trial account and setup is included in this tutorial. However, if you want to use your WordPress site for production or a custom domain, you will need to upgrade to a paid subscription.
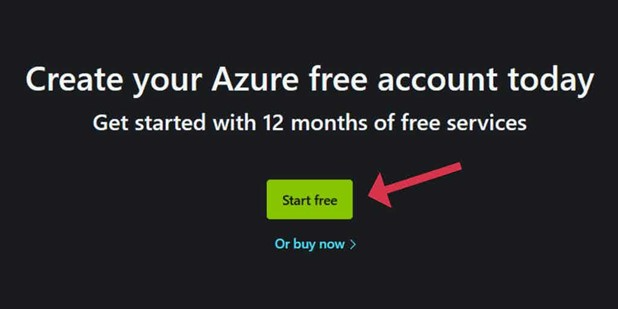
First, open your browser to https://azure.microsoft.com/free and click on the “Start Free” button shown in the image below:
Sign in to your Microsoft account or create a new one if you don’t already have one. Complete the prompt to create a free Azure account. During this step, you’ll need to provide both a phone number and a credit card number for identity verification but there is no catch here. Your account won’t start billing you automatically. Microsoft will only upgrade you to the paid plan if you opt-in after your free trial period.
When you are finished with the account setup, proceed into the Azure Portal.
2. Set up WordPress app service using the Azure setup wizard
On the main dashboard, start by clicking on the “+ Create a resource” button. (shown below)

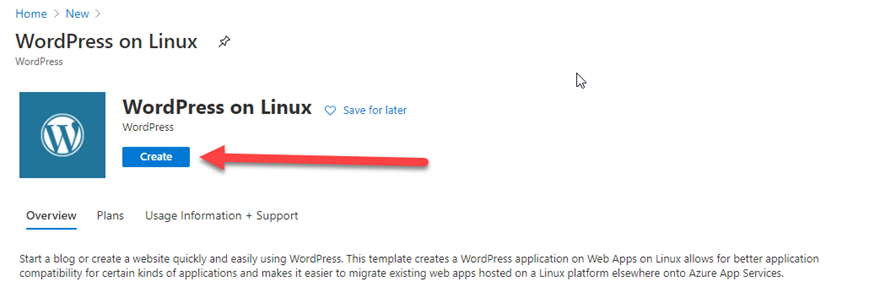
In the new window, look for “WordPress on Linux” and click to open. This will bring you to the following screen.
Click on the “Create” button.
3. Configure your WordPress app service
The following form will appear after you click on “Create.”
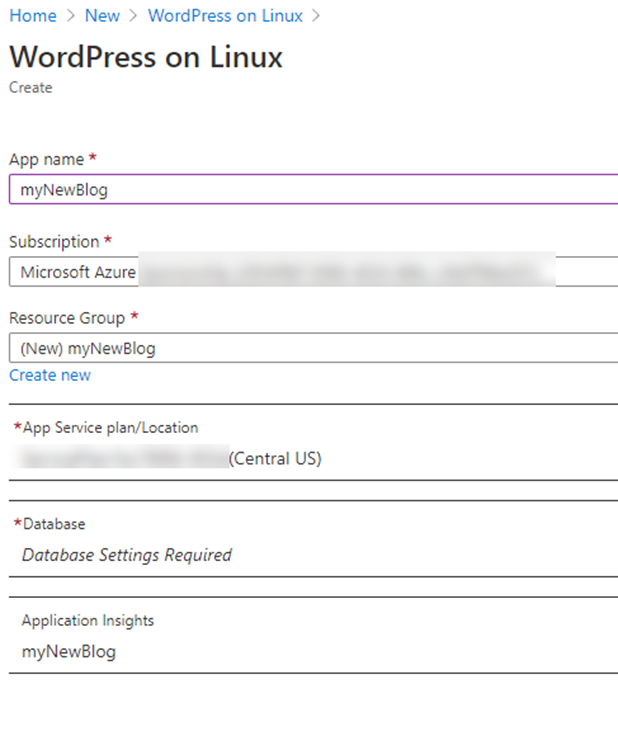
You now have several options to configure your new website:
- App name – Enter an internal name to help you remember this WordPress install. This will be the name of the internal app/website. Please note that the temporary domain for your new website will be [your app name].azurewebsites.net
- Subscription – Leave this to use as the default.
- Resource Group – This field will be pre-filled based on your App name.
- App Service plan/Location – Select the location of the data center where your new website will be stored. It is usually better to use a location that is closest to your potential customer base (Here is the list of locations)
- Database – Here is where you will set up your database credentials, please be sure to write them down as you will need these for the WordPress site. In this screen, there will be several options so for the scope of this post, just create the username and password and click OK to save out of there.
- Application Insights – Leave this to use as the default.
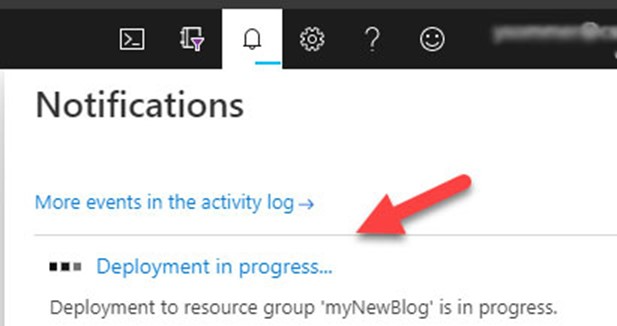
After this step, the Microsoft Azure platform will start creating and deploying all the resources needed for your WordPress site to run. It will complete after a few minutes. To check the status of the deployment, just click on the notifications icon in the top left corner.
4. Configure WordPress using the install wizard
Now that you have your WordPress site deployed, open a new browser window, and head to your new website by using the URL you created in step 3, [your app name].azurewebsites.net
To confirm the URL, just click your resource name on the Azure dashboard and the resource overview screen will pop up with the name listed. The overview screen will also include the FTP information from the new site, as seen below. Keep this for future use.
Navigate to the URL and it will open the WordPress setup wizard. Here, you can set up your new site name and your WordPress credentials.
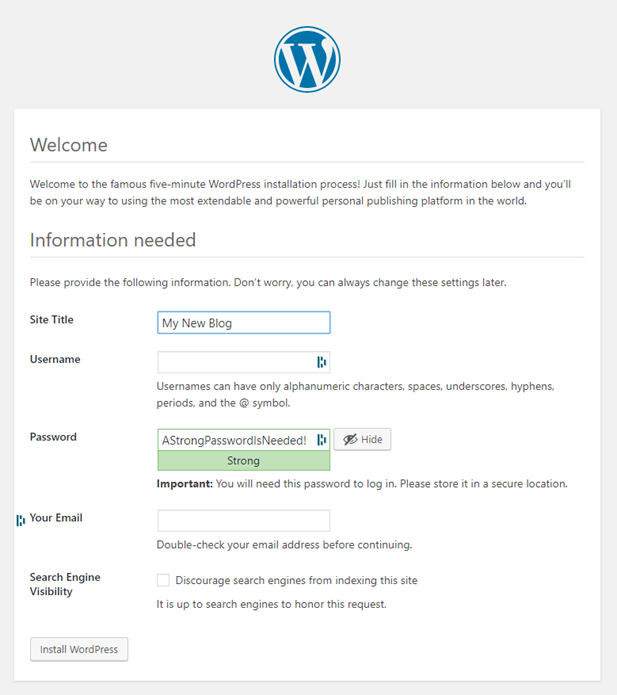
After filling out all the fields, click on “Install WordPress,” to finish setup and your website will be ready.
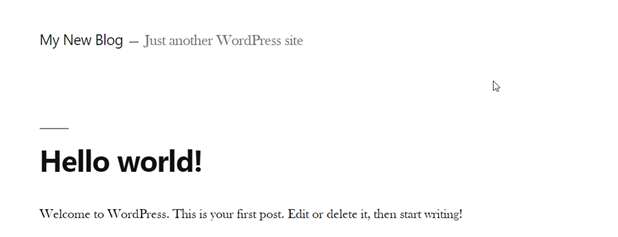
Done! You are done. Congratulations! You have just set up your own WordPress site on the Microsoft Azure Cloud!


0 Comments